About the Project.
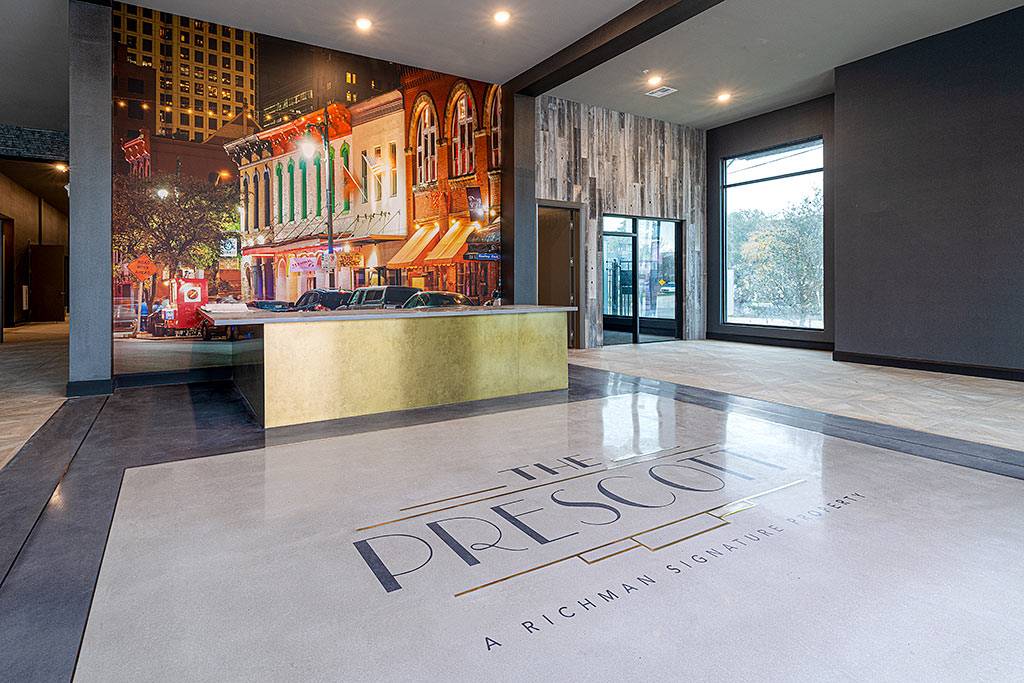
Craftsman Concrete was contracted to install a specialized concrete overlay with inset brass decorative strips. Located on South Congress in Austin, this 300-unit apartment complex specified an overlay to keep a consistent grade between the concrete floor and the adjacent tile floor finishes. This approximately 1,000 Sq. Ft. project was completed in 5 days.
Ardex 520 self-living topping was specified for this project. A combination of both integral colors and topical dyes was used to achieve the multicolor effect on this project. The brass strips vary in diameter from 1/4″ to 5/8″, and were supplied by Manhattan American Terrazzo Strip Company.
What is a Concrete Overlay?
A concrete overlay is a specialized cement material that is designed to be installed over an existing concrete slab for either repair or decorative reasons. In this case, the decorative concrete overlay was installed at 5/8 inch thickness to match the thickness of the adjacent tile surface.
There are two types of concrete overlays, micro toppings, and architectural overlays. Micro toppings are troweled over an existing concrete surface and are only several millimeters thick, while architectural concrete overlays are poured and are at least 3/8″ thick. Because of their added mass, architectural concrete overlays offer more durability and longevity, especially in commercial installations such as an apartment complex.
Concrete Overlay Install Process
Surface Preparation
Like all other construction projects, proper preparation is key for a concrete overlay system. To ensure proper adhesion, the concrete foundation is ground aggressively using 16-grit metal-bonded diamond tools on a planetary concrete grinder. This step also flattens the subfloor, ensuring that the concrete overlay has a consistent thickness across the installation.
Epoxy Vapor Barrier
After grinding, a 100% solids epoxy vapor barrier is installed on the prepared concrete surface. The function of this vapor barrier is to prevent overlay delamination by stopping the transfer of moisture from the concrete foundation to the overlay. Without an epoxy vapor barrier, especially in humid climates such as Texas, moisture can become trapped between the foundation and the overlay, causing the overlay to separate and fail.
Sand Broadcast
While the epoxy vapor barrier is still wet, sand is broadcast the rejection across the floor. The sand becomes adhered to the epoxy, thereby increasing the overall surface area that the decorative concrete overlay has to adhere to. This increased surface area further reduces the chance of a delamination failure and will reduce the appearance of cracks in the overlay.
Decorative Metal Strip Installation
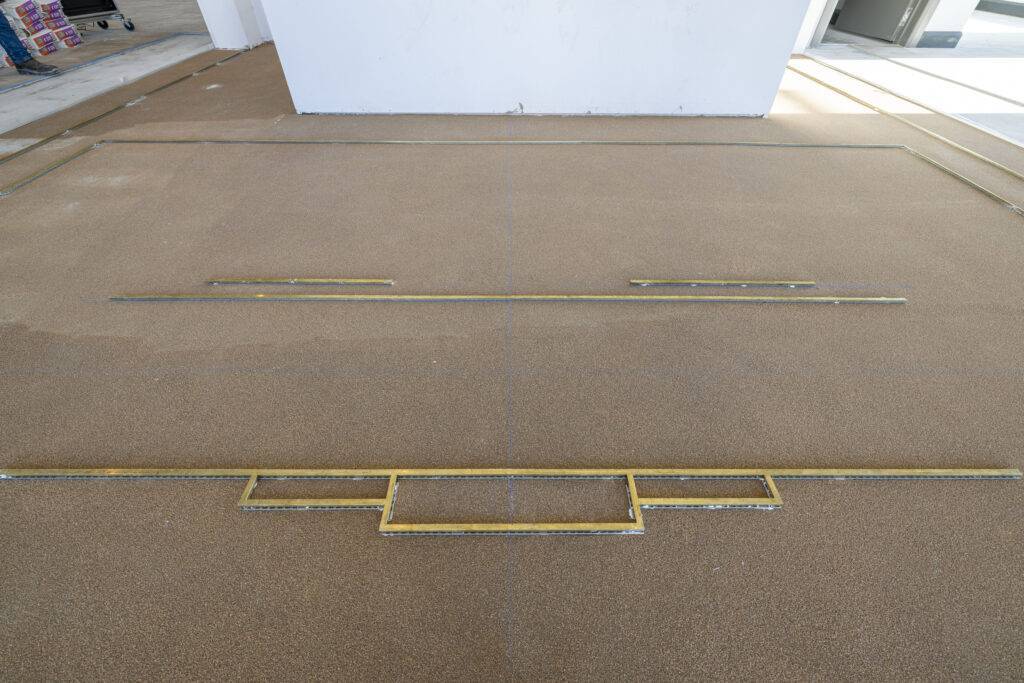
The decorative metal strip is cut with a miter saw and attached to the prepared floor according to the architect’s plans. Both concrete screws and 2-part epoxy adhesive are used to metal strip to the subfloor.
Concrete Overlay Mixing and Pour
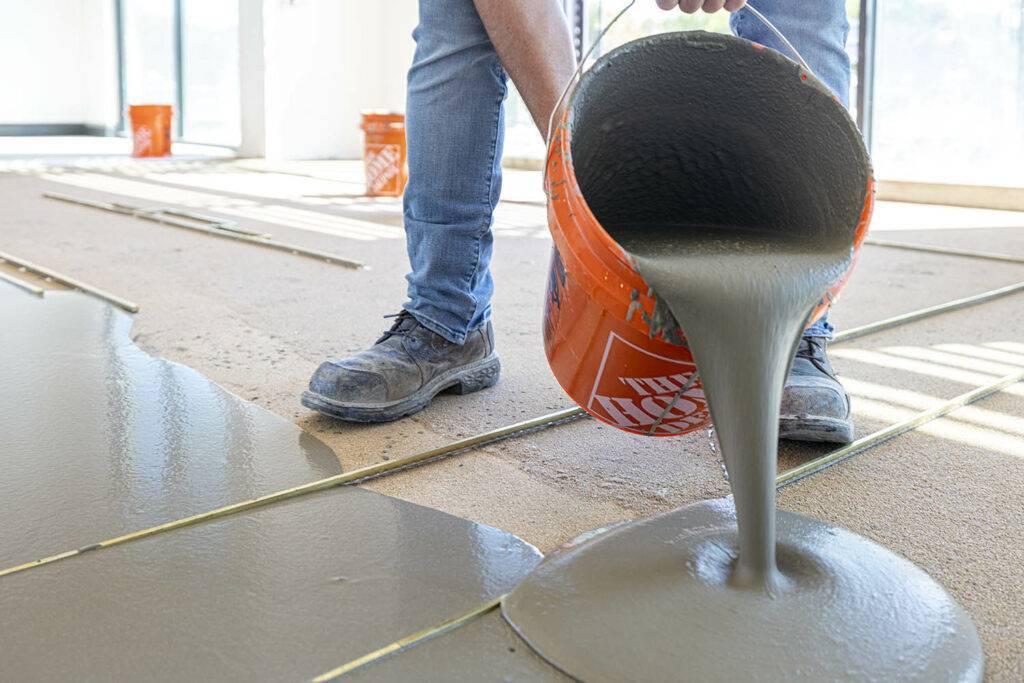
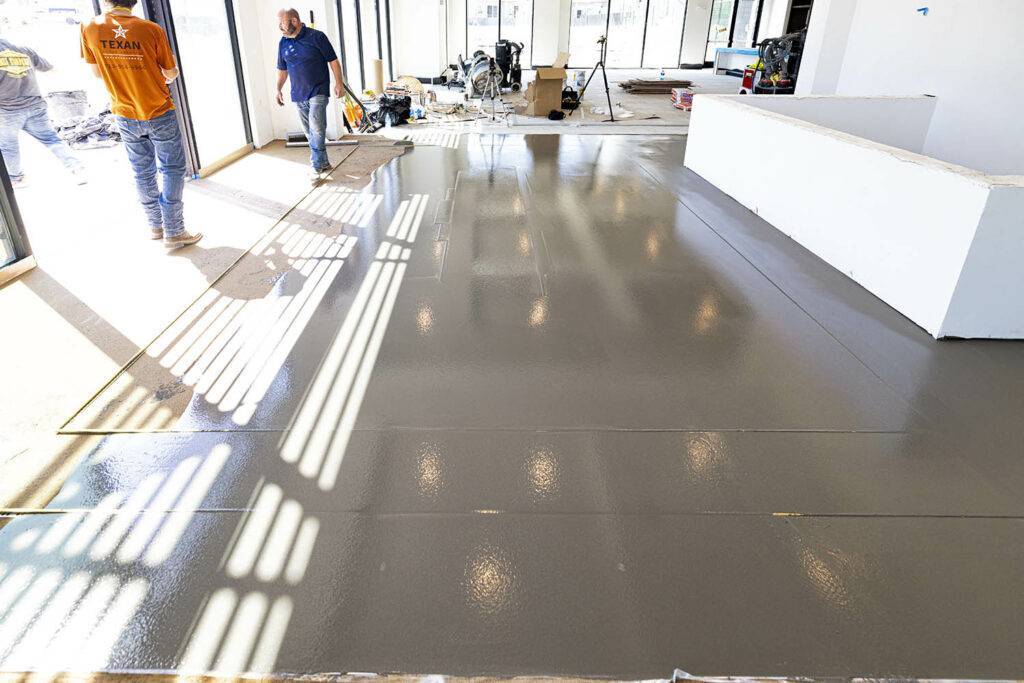
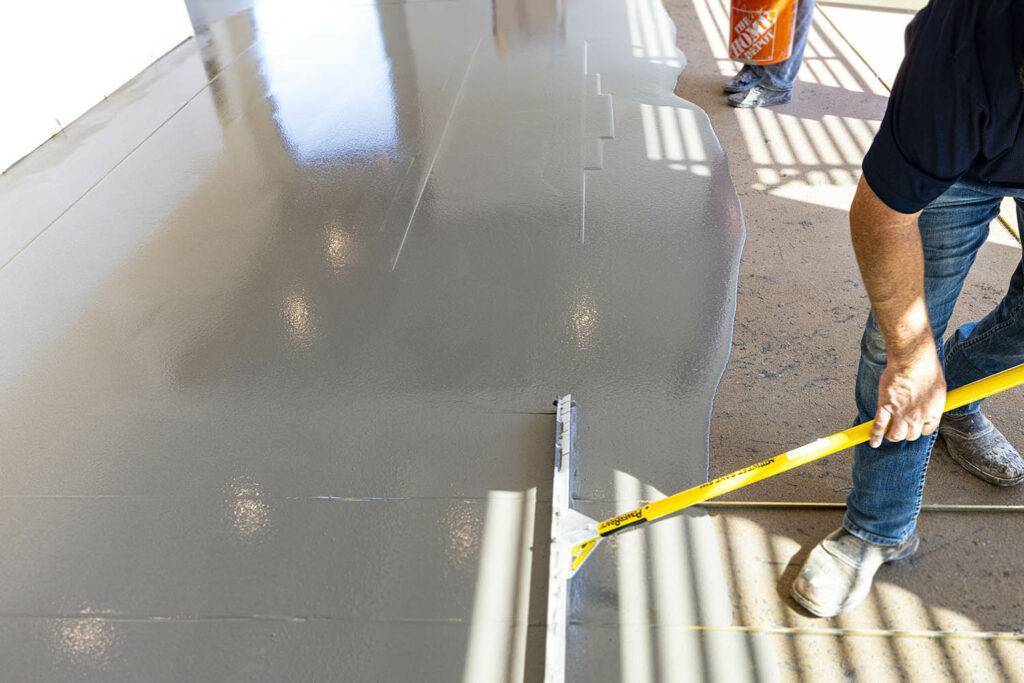
After completing the subfloor preparation and metal strip installation, concrete is poured at a consistent depth across the floor. This overlay material, Ardex 520, comes in 50lb bags and is mixed on-site using specialized concrete mixing drills. This mixing is done in small batches to provide the work time required by the installer to ensure that the overlay material is flat and of the correct depth. It is crucial that the concrete being poured is not allowed to harden before the installer has time to attend to it, so the concrete is mixed by several skilled mixing crews in approximately 40 sq. ft. batches.
A wide rake with depth gauges is used by a skilled installer to manipulate the material after it has been poured over the prepared subfloor. Because of the extreme hardness of this concrete material, it takes less than 15 minutes for it to harden after being poured from a concrete mixer.
Concrete Grinding
Because the metal strips are slightly taller than the decorative concrete overlay, the metal strips are first ground by hand with an aggressive cup wheel on a hand grinder. Then, a sequence of progressive finer diamond tools, starting with 30 grit, are used on a planetary concrete grinder. Silicate densifier and grout coat are used to increase the hardness of the overlay and eliminate any porosity left by the concrete pour.
Concrete Polishing
The final step of this installation is to use specialized diamond polishing tools to increase the floor’s level of reflectivity. Because the brass strip can discolor when heated, the overlay is kept wet during the polishing process. Finally, an acrylic stain protect product designed for polished concrete floors is applied to the overlay, and the overlay is burnished with a 3000-grit diamond pad.
Concrete Overlays vs Terrazzo Floors
Because of the embedded terrazzo strips, this installation closely resembles a terrazzo floor. Functionally these installations are similar, with the primary difference being the price of the installation and the size of the embedded aggregates. Because the concrete overlay uses less expensive materials, it is significantly less expensive than a terrazzo floor. Further, the concrete floor has a more modern appearance, which is better suited for the aesthetic of this apartment complex.
