DIY Epoxy Garage Floors
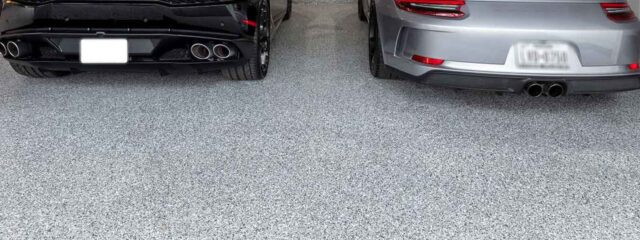
Epoxy is an excellent choice for garage floors because of its durability, chemical resistance, and aesthetic appeal. It creates a tough, resilient surface that can withstand heavy foot traffic, vehicle wear, and exposure to chemicals like oil and gasoline, making it ideal for garages. Its resistance to stains and damage helps keep your floor looking clean and professional, while the variety of colors and finishes allows for customization to suit your style. Additionally, epoxy floors are low-maintenance, requiring minimal effort to clean, and their slip-resistant surface enhances safety in areas prone to spills or moisture. Overall, epoxy offers a practical, long-lasting, and visually appealing upgrade for any garage.
At Craftsman Concrete Floors, we’re often asked whether DIY epoxy garage floor installation is a good option for savvy homeowners. In this article, we’ll explore this topic in detail. While DIY installation can save money upfront, there are significant challenges to consider. The durability of an epoxy floor largely depends on proper concrete subfloor preparation, which requires expertise and access to professional-grade equipment. Further, many industry-standard products may not be available to non-professional installers, making it difficult to achieve the same level of quality and long-term performance as a professional installation. For information about the costs of an epoxy garage floor, visit our epoxy floor cost guide.

choosing the Correct Epoxy System
In a high-quality garage floor system, a typical installation involves an epoxy primer coat, a 100% solids epoxy body coat with integrated flake broadcast, and a high solids polyurethane topcoat. This system is ideal because epoxy bonds exceptionally well to concrete, while polyurethane offers superior chemical and impact resistance. While this process results in a durable, long-lasting floor, it can take up to three days to install.
Some companies cut corners by using polyaspartic coatings for both the base and top coats, offering “one-day garage floors.” While faster curing, polyaspartic doesn’t bond to concrete as effectively as epoxy, increasing the likelihood of delamination over time. At Craftsman Concrete Floors, we always use an epoxy primer and body coat to ensure the most durable and long-lasting garage flooring system.
For DIY projects, homeowners have two options: purchasing a big-box retail garage floor kit or sourcing materials from specialty decorative concrete retailers. While big-box kits offer convenience and ease of installation, they generally lack the durability needed for vehicle traffic. We recommend investing in the highest-quality materials available, which can be found at specialty stores. These retailers not only provide better products but also the necessary tools, like specialty roller covers and solvents, to ensure a successful installation.
Prepping the Concrete Slab
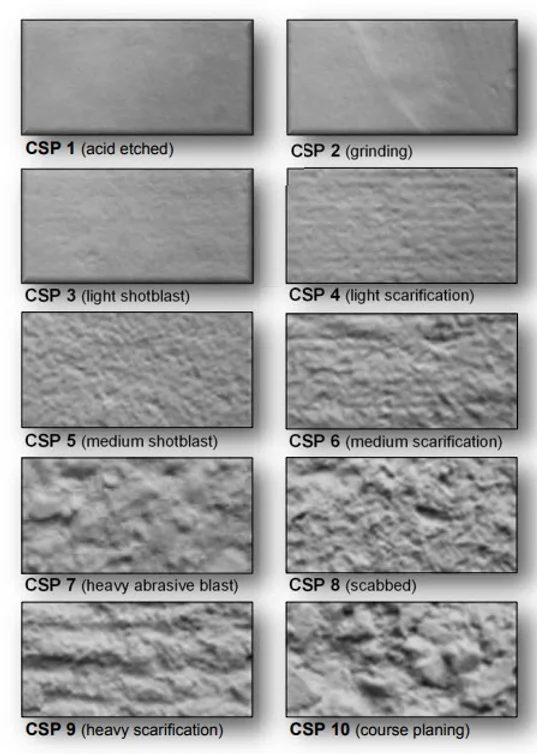
For an epoxy floor to be truly durable, proper preparation of the concrete subfloor is critical. Manufacturers reference a Concrete Surface Preparation (CSP) scale to indicate the level of roughness needed for coatings to bond effectively. For epoxy, a CSP of 2 or 3 is required. Achieving this level of roughness typically involves either grinding or shot-blasting the concrete, which poses a challenge for DIY enthusiasts since both processes require specialized equipment.
While it’s possible to use a hand grinder instead of a planetary floor grinder, this method is labor-intensive, creates dust control issues, and often leads to uneven surfaces. Concrete dust is also hazardous to health, so a HEPA vacuum must be attached to the grinder, and the operator should wear an N-99 respirator. Hand grinding is generally not recommended due to its physical demands, difficulty in achieving a flat surface, and the risk of injury.
Most DIYers opt for acid etching, which uses hydrochloric acid to roughen the concrete. Many big-box retail epoxy kits include acid and instructions for this process. However, acid etching only creates a CSP 1 profile, which is insufficient for proper epoxy adhesion. For a professional-grade epoxy floor, a higher CSP is required, making acid etching an inadequate solution.
This presents a significant challenge for DIY epoxy installers. Without access to concrete grinding or shot-blasting equipment, it’s difficult to achieve the proper surface preparation needed for a long-lasting epoxy floor. Renting grinding equipment is an option, but the cost can offset much of the savings of doing the installation yourself. In summary, DIYers face the dilemma of either spending considerable time and effort to hand-prep the concrete or accepting a subfloor with less profile than what epoxy manufacturers recommend for a durable finish.
Installing the First Coat of Epoxy
Once the surface preparation is complete, it’s time to apply the first coat of epoxy. To ensure the surface is as clean as possible, we recommend using a leaf blower to clear away any remaining dust. Be sure to wear a respirator during this step, as the blower will stir up a significant amount of concrete dust. If the surface is still dirty after preparation, consider pressure washing to expose more of the concrete’s porosity, which will improve the bond with the epoxy.
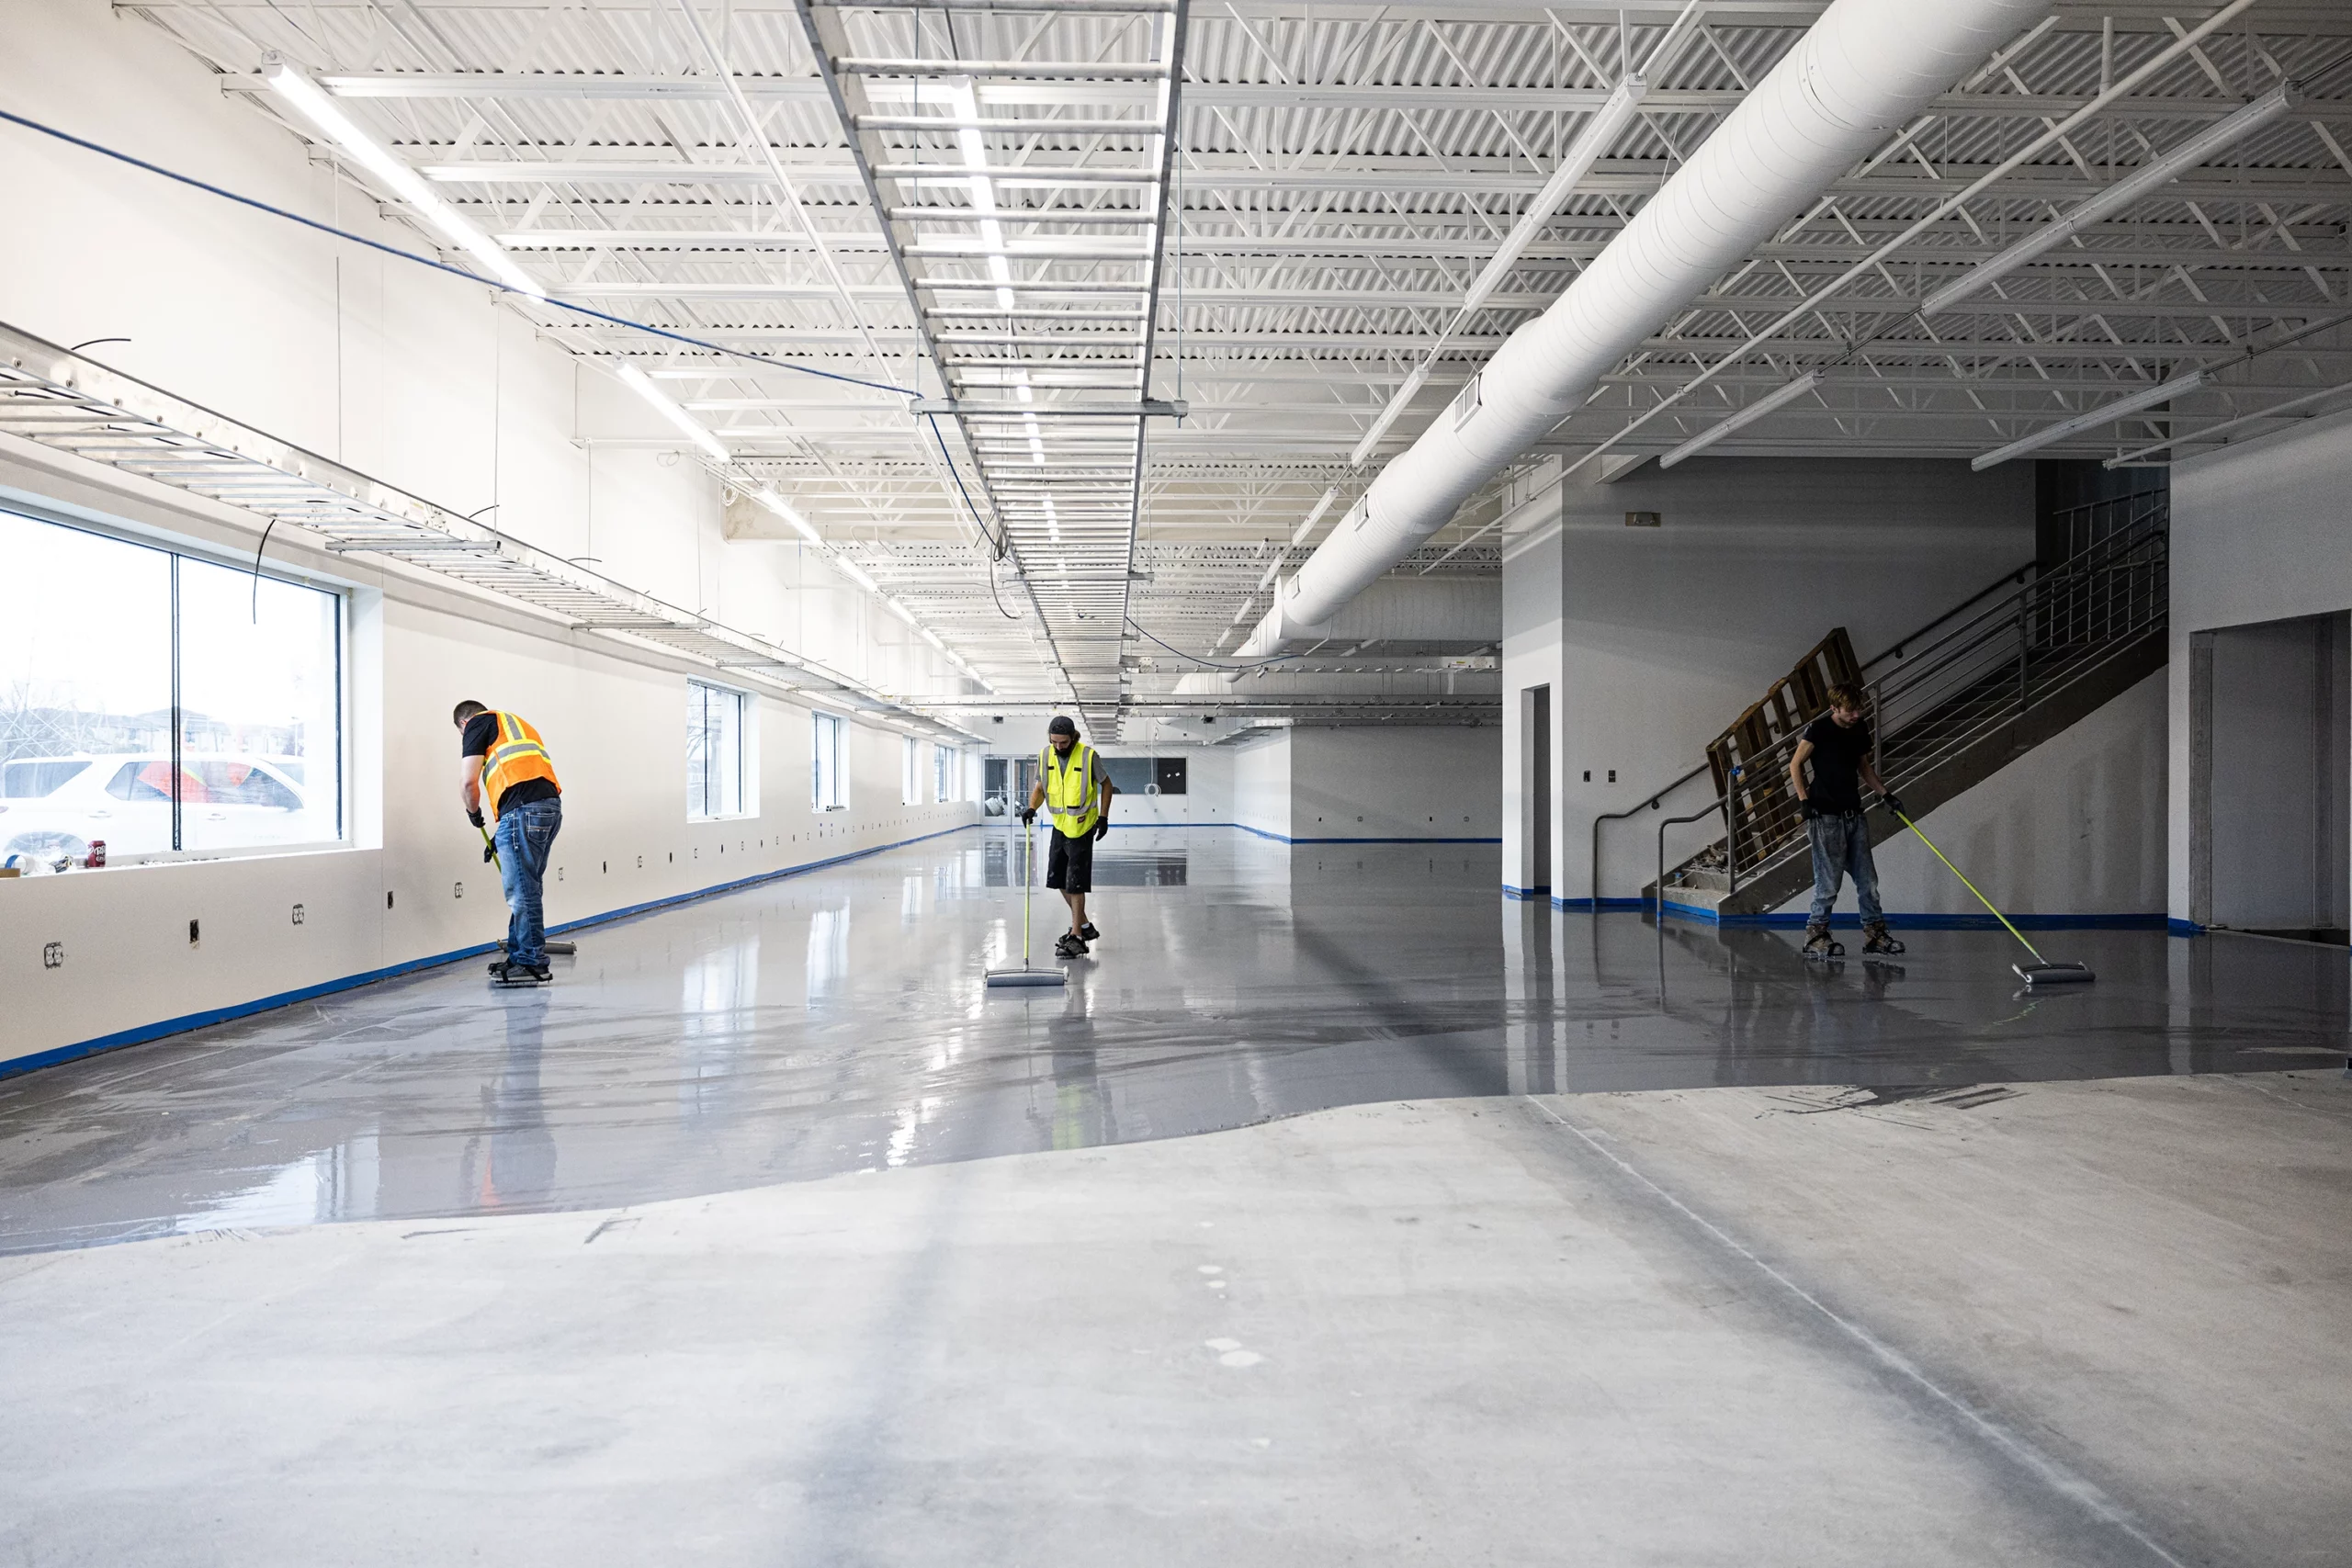
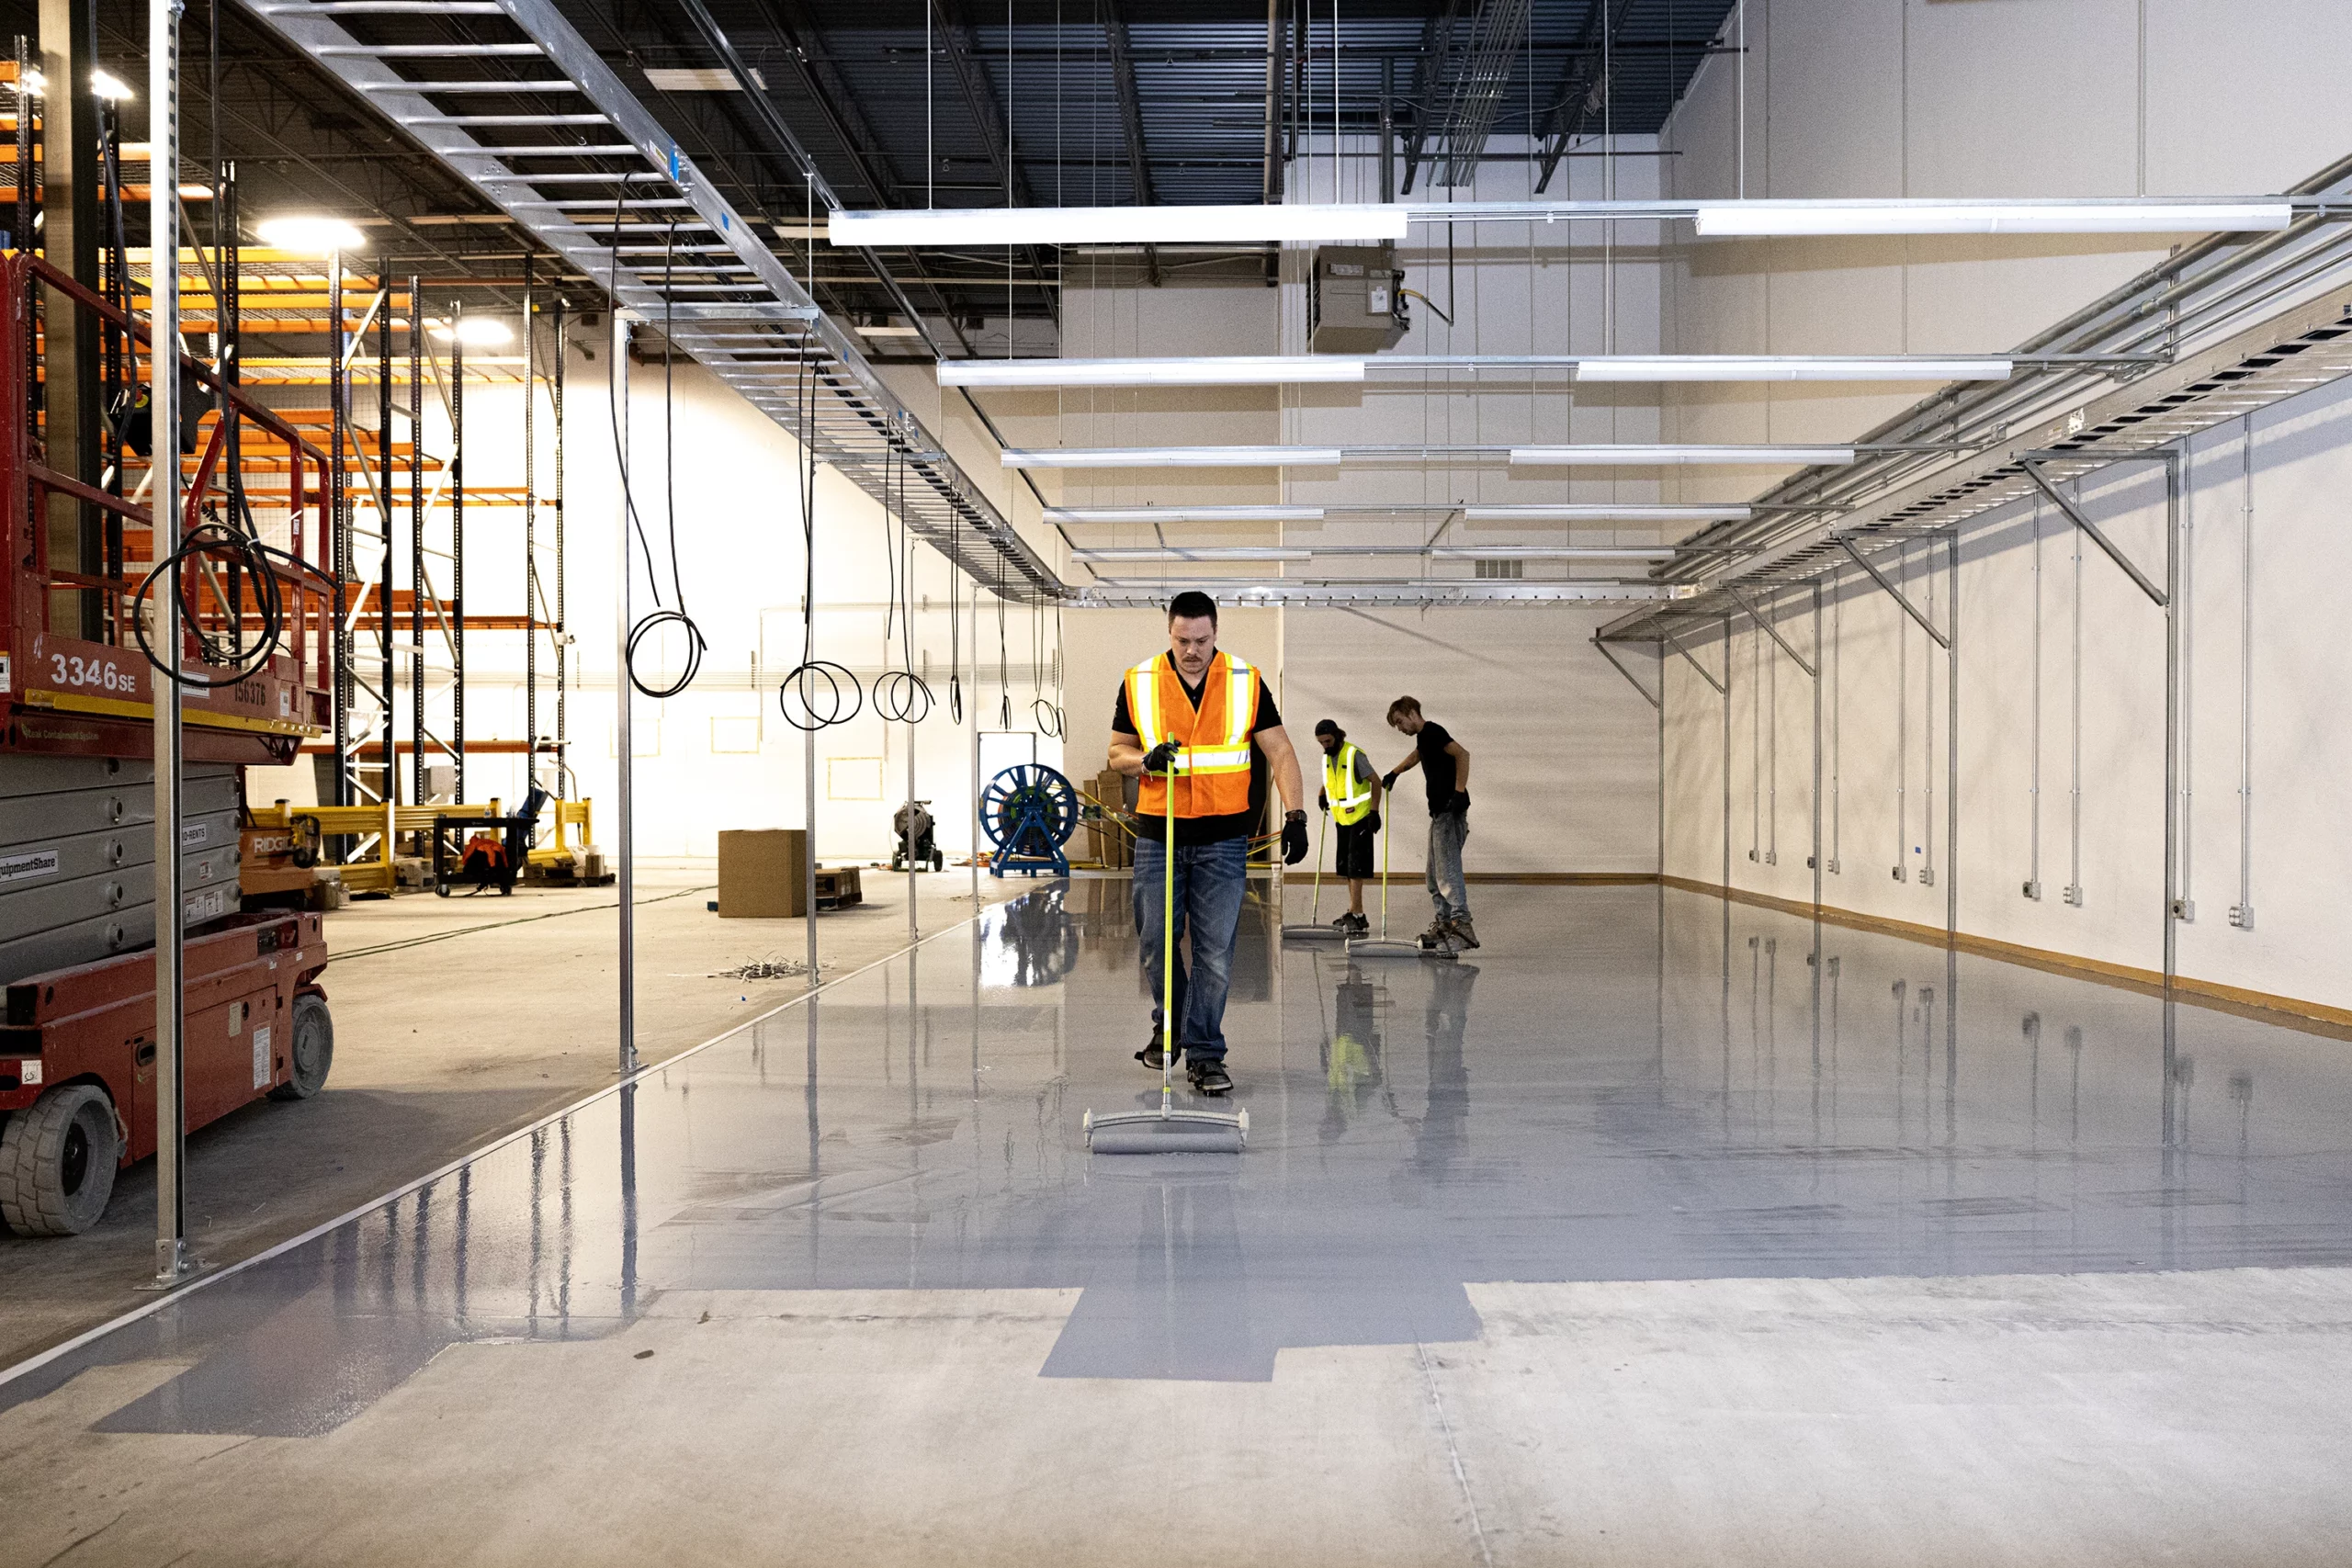
Before starting the epoxy installation, make sure you have enough people and the right tools on hand. We recommend a team of three, although the job can be done with two people. The essential tools include an epoxy roller cover, a 2-3″ chip brush for edges, and a notched rubber epoxy squeegee for spreading the epoxy after pouring it on the floor.
In our installations, we assign one person to mix, pour, and spread the epoxy, another to brush the edges and vertical surfaces, and a third to back roll the epoxy for even coverage. It’s important to use the correct notched squeegee, which is designed to apply the epoxy at a specific thickness. For example, if the primer requires a 7-mil thickness, a 7-mil notched squeegee will ensure the correct amount of epoxy is spread before rolling. This attention to detail ensures proper coverage and adherence to the material’s technical requirements, giving your epoxy floor the durability it needs to stand up to vehicle traffic.
Applying the Epoxy Body Coat
After the primer coat is applied, the next step is to install the epoxy body coat, which is the most critical layer in the system. This coat is applied at a much thicker level than the primer, sometimes up to 12 mils. The body coat is also where the decorative poly flake is broadcasted across the surface. Because broadcasting the poly flake until full rejection is both labor-intensive and time-sensitive, it’s often beneficial to have an additional person on hand to assist with this step. Properly applying this coat ensures the floor’s durability, aesthetics, and long-term performance.
It’s absolutely crucial to adhere to the cure time and re-coat window of the primer epoxy during this step. For most systems, this means the body coat must be applied at least 6 hours, but no more than 24 hours after the primer coat. If these time windows are not followed, the epoxy layers will not properly cross-link, increasing the risk of delamination and compromising the floor’s integrity.
Once the body coat is being applied, one team member, wearing metal spiked cleats, must walk onto the wet epoxy to broadcast the decorative poly flake evenly across the surface. Poly flakes serve two purposes: they add a non-slip texture to the floor and help hide inevitable marks, scuffs, and dirt that accumulate in a garage environment. These flakes are available in an endless range of colors, with custom size and color blends available.
For the installation, poly flakes are typically transferred from a 5-gallon bucket, and a repetitive slinging motion is used to distribute small, controlled amounts across the floor. Be sure to also flake the vertical cement surfaces, ensuring enough epoxy is applied beforehand. Having a 3- or 4-person crew is ideal for this step.
Scraping the Poly Flake
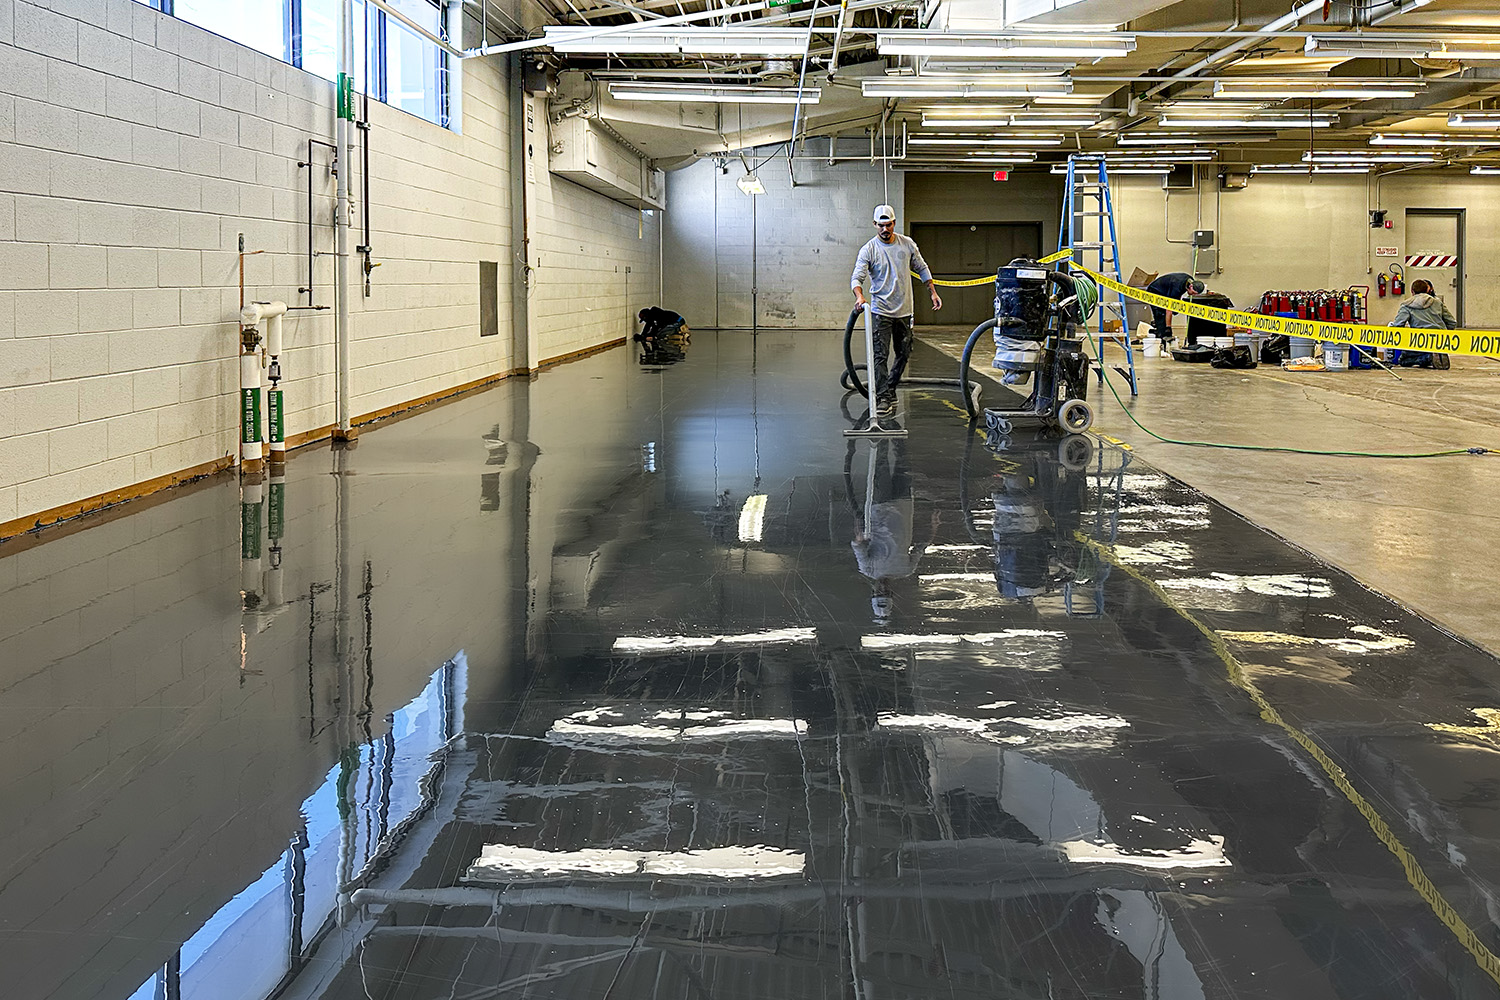
After broadcasting the poly flake, the floor will have an inconsistent texture, with some areas being rougher than others due to the varying amounts of flake. To even out the surface, the entire floor should be scraped using a spring steel floor scraper to remove the excess flake. This step often intimidates DIY installers, as they may worry about damaging the appearance of the floor after carefully broadcasting the flake. However, it’s important to remember that there is an excess of flake on the floor, and scraping it will actually improve the overall look and texture.
Once the excess flake is scraped away, the floor must be thoroughly swept or vacuumed to remove any remaining loose material before applying the topcoat. This step is crucial, as any debris left on the floor will be visible in the final topcoat, compromising the finish.
Applying the Topcoat
Applying the polyurethane topcoat is similar to applying the epoxy body coat–it’s crucial to ensure the surface is clean and that cure times and re-coat windows are followed precisely. Depending on the specific topcoat being used, pot life and work time may be significantly shorter than with epoxy, so careful planning is required to mix and apply the topcoat efficiently. Timing is key for this step, and you may need to work faster than with the previous layers. However, after gaining experience with the epoxy application, you should have no trouble successfully installing this final coat, ensuring a durable finish.
Caring for an Epoxy Garage Floor
Caring for an epoxy garage floor is extremely straightforward. In most cases, you can simply blow or sweep the floor clean and then mop or gently pressure wash it as needed. While epoxy floors are generally impervious to water, they can become slippery when wet, so it’s essential to promptly clean up any standing water to maintain safety.
Although the polyurethane topcoat is highly chemical-resistant, it’s wise to familiarize yourself with the product’s data sheet. The data sheet will list common solvents and contaminants, such as various acids, vinegar, and red wine, along with how the coating will react to both brief and prolonged contact with these substances. If your floor may come into contact with any of the liquids specified in the data sheet as potentially harmful to the coating, it’s best to be informed ahead of time to take appropriate precautions.
Want to Learn More About Epoxy Floors?
We’re here to guide you through the design of our products. A Concrete Floor Specialist will reach out within one business day.
